
Ladies, makeup is not a mask, it’s a form of art and more importantly – it’s a form of expression. It can be a hell lot of fun to try out different things because you have all the creative freedom to experiment with what you like best. Do you also feel that makeup is an extension of your personality? Of course, each one of us has our very own style and preferences but the basics of nailing your makeup – in whatever kind you like – be it simple or intricate are the same.
There exists an art of applying makeup, and the smallest of things can make a huge difference to how your end results turn out. We’ve done some good-old research to make your life easier and break down the steps involved in applying makeup perfectly.
Let’s begin with the pre-makeup routine for healthy skin.
How To Prepare Your Skin Before Makeup
The key to glowing and naturally flawless skin begins with some amazing preparation for your skin. I cannot stress enough upon how important prepping is – because it makes your job easier and you won’t have to work so much on “fixing” any issues that your skin may already have.
Step 1: Cleansing Your Face
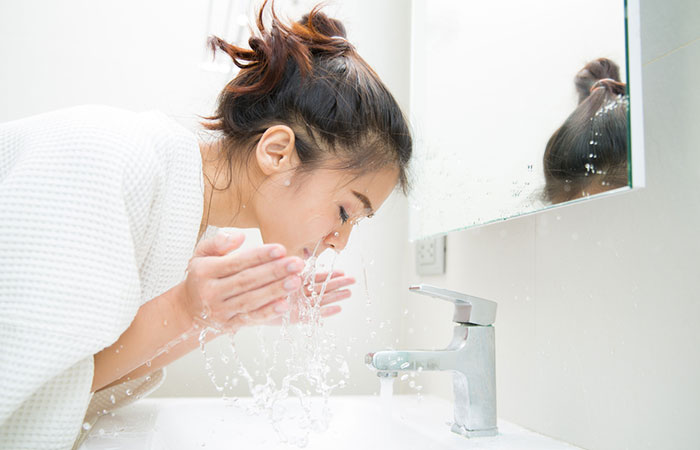
Begin with a clean canvas! The first step to your routine should involve removing any traces of oil or dirt. You can use a gentle cleanser to wash your face to make it squeaky clean. Choose a facial cleanser that suits your skin type.
Step 2: Using A Toner

A toner can actually do wonders for your skin. If you have an oily or acne-prone skin, then toners are a blessing for you. It helps to balance the pH levels of your skin and tighten your pores. Just dab some toner on a cotton pad and pat it all over your face and neck. Do add this step to your skincare regime!
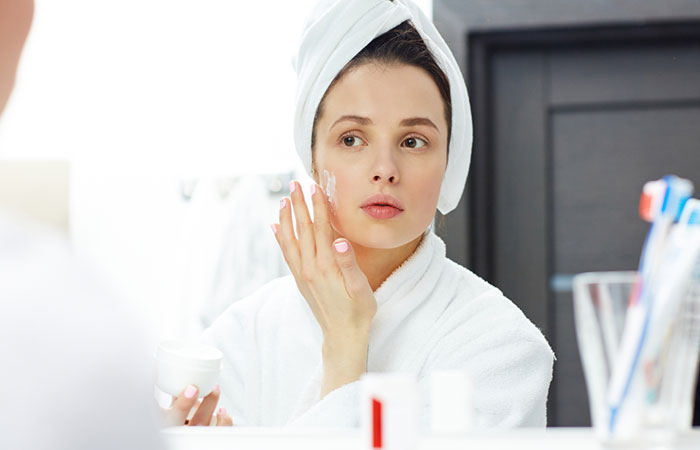
A moisturizer is an essential part of your skincare regimen. You need to hydrate your skin well, in order to get your makeup to look great. Choose a moisturizer that suits your skin type and knock yourself out. It keeps the skin underneath your makeup healthy and it also helps to provide a smooth finish rather than a cakey look. You can also add a few drops of rose water to your cream or moisturizer for added hydration.
Step 4: Wearing Sunscreen
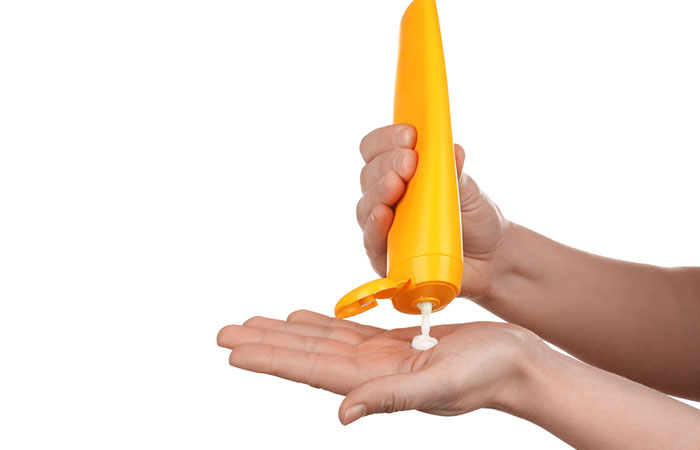
You will thank your younger self in the future if you follow this step. Wearing sunscreen throughout the year is vital if you want to avoid premature aging of your skin, hyper pigmentation and other terrible possibilities that can occur because of harmful UVA rays. So do yourself a favor, and put on SPF!
Following these basic steps before stepping out can show significant improvement in your skin. So now that you have a clear picture of how to prepare your skin before makeup, let’s move on to the actual application part, shall we?
How To Apply Makeup Perfectly
These steps are infallible, and if you even have about five minutes of your patience to spare, you will become a pro within no time. So let’s get rolling to the fun part.
What You Need:
As per your preference, you can choose to skip the products you don’t wish to wear, but we’ve got the whole step-by-step tutorial chalked out for you. It’s also really important to be aware of your skin-type as you can decide what kind of products to pick – oil based, water based or mineral makeup. Pick the kind that meets your personal requirements. Only, after completing the pre-makeup routine, move on to these steps.
Step By Step Tutorial
PART I: Achieving A Flawless Base
Step 1: Using A Primer
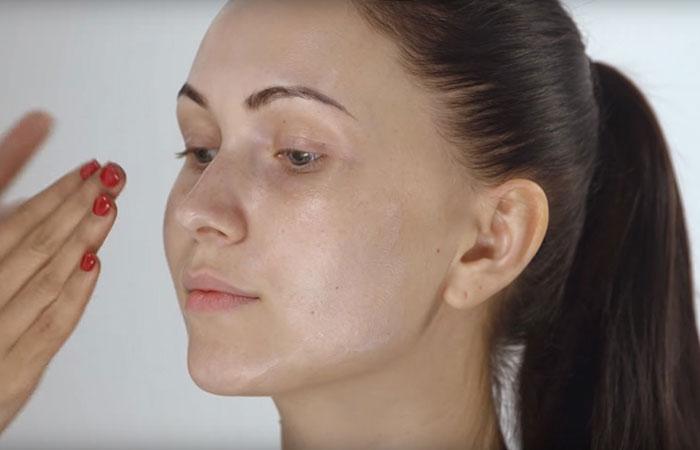
The first and foremost step is to apply a primer. Doing this will boost coverage, smoothen out your texture, minimize pores and will increase the longevity of your makeup. If you’re going to be running around or sweating, then a primer is a must. The L’Oreal Paris Base Magique primer is a great option for a primer.
Step 2: Applying Foundation
Choose the exact shade of foundation for your skin tone to achieve a flawless look. A good trick for finding the right shade is to match it to your chest. Remember the golden rule, ladies – less is more. That’s the case with foundation.
The Maybelline Fit Me Foundation range has a variety of different shades and is a great pick for liquid foundation. The Bobbi Brown Foundation stick is also perfect for an incredibly natural look.
Step 3: Time To Conceal

A concealer is typically used to cover up those bothersome spots, blemishes and dark circles. Use a concealer in a shade slightly lighter than your skin tone to brighten and even out any areas that need work.
Choose a liquid concealer for light coverage and a wide area of your face – as for your under-eye area. Choose a compact or stick concealer for a better coverage and small areas.
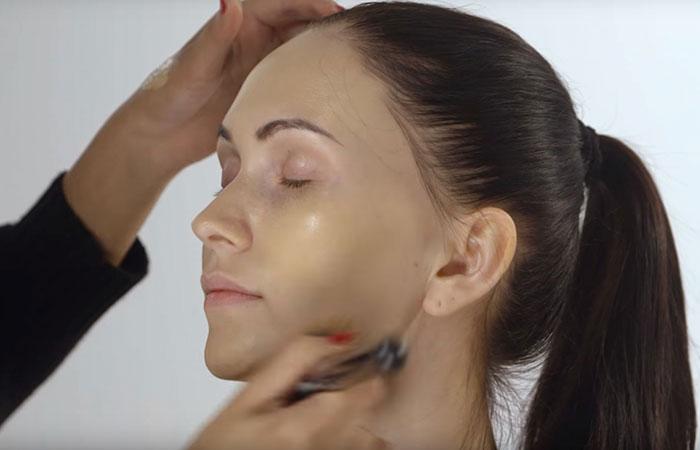
Step 4: Setting Your Foundation
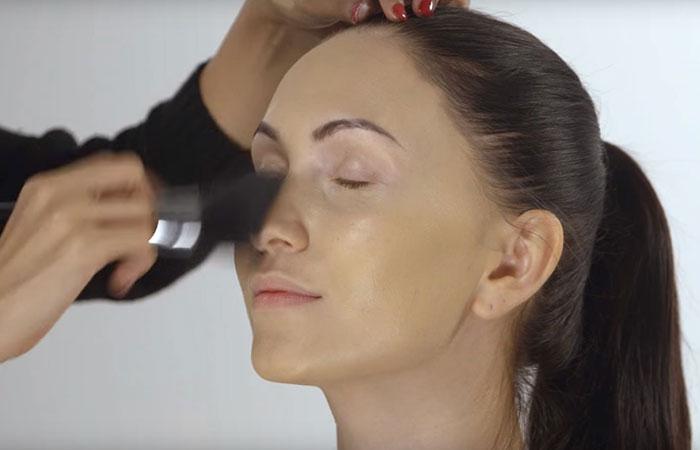
This step is totally optional but if you are someone with oily skin then make sure to use a compact or setting powder in a color matching your skin tone. You can use a sponge or a buffing brush to apply the product evenly on your face and neck. A compact is easy to tuck into your purse and you can touch-up to keep your face looking shine-free.
Part II: Time To Enhance Your Features
Once you have your base ready, it’s time to define and enhance your beautiful features!
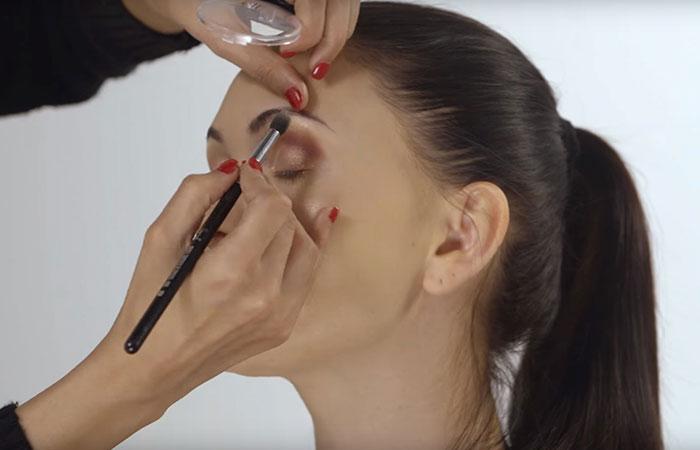
Enhancing Your Eyes
Make sure to purchase a high-quality eyeliner and mascara, so it won’t smudge or smear.
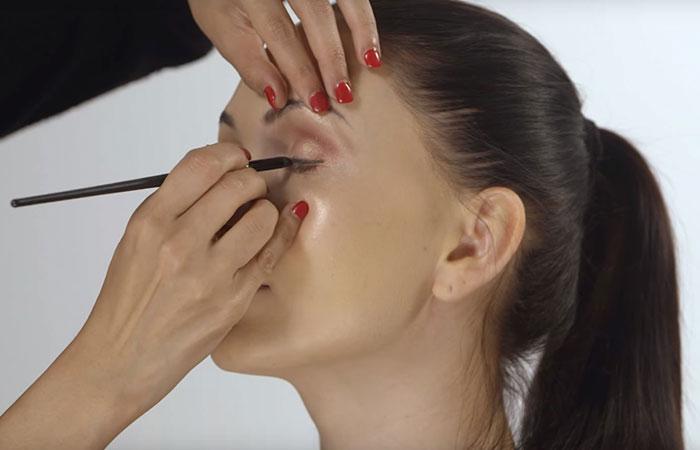
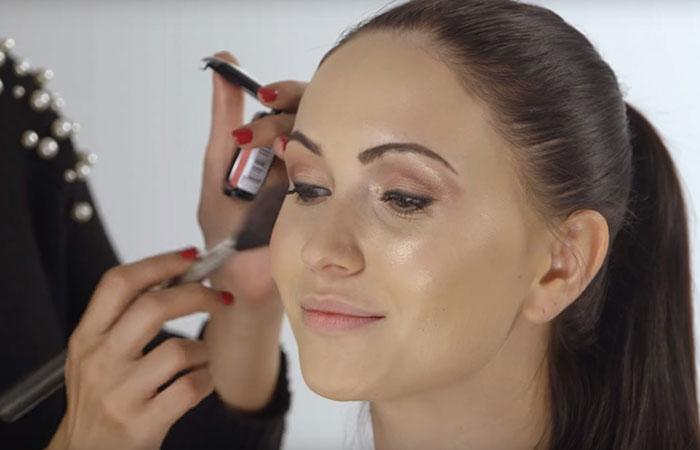
Getting Those Brows-On-Fleek
Defining your eyebrows instantly adds structure to your face. If you have naturally dark, well-defined eyebrows then congratulations, you may skip this step. But if you have sparse or over-plucked eyebrows, then you can use an eyebrow pencil or brow pomade to fill them in.
There are various amazing products available in the market, specifically for your brows like eyebrow kits and duo-shapers. For special dos, add a highlighter under the brows to make them stand out!
Applying Blush
Blush adds a cheeky glow to your skin and makes it look fresh and healthy. Use a blush brush to apply the blush to the apples of your cheek. Refrain from mixing textures – if you are using a powder, stick to a powder blush and if you are going sans powder, stick to a cream blush.
You can add a touch of highlighter or luminizer to your cheek bones, along the bridge of your nose and under your brow bone for an appealing radiance.
Working On That Pout

Before you put on anything on your lips, make sure you’ve moisturized them with some lip balm for lush and healthy looking lips. Choose lip colors that complement your skin tone. If you want to wear nude lipstick, find the right shade of nude for your skin tone. If you’re feeling chirpy and want to go with bright colors, find shades that you can work with.
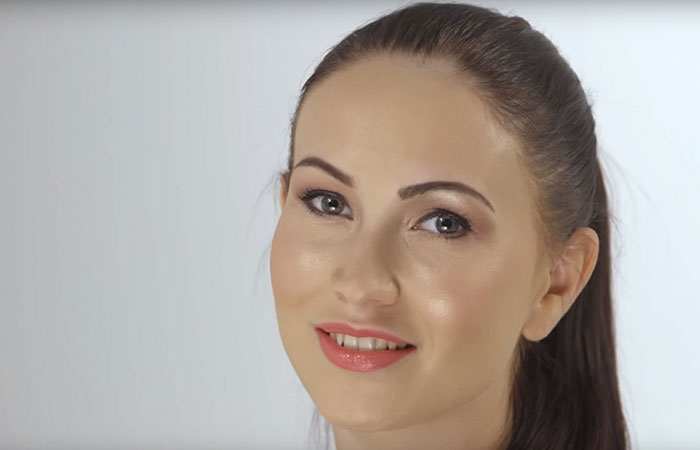
Voila! Your makeup is complete, and you’re set to go out there and rule! Wasn’t that easy? With just a few steps, here and there, every day, you can achieve this camera-ready look. As per your preference, you can amp it up or down to suit the occasion and atmosphere.
Makeup is a fun affair, but there are certain measures you must keep in mind if you want to avoid any kind of skin troubles and other issues.
Precautions To Be Taken While Applying Makeup
Remember, hygiene is a very important aspect of both applying and removing makeup. If you want your skin to remain healthy, then do follow certain standards in the application of makeup.
Avoiding and Fixing Makeup Blunders
There are times when things won’t go in accordance to your wishes, and your makeup may go terribly wrong. For times like these, it’s always good to have a few tips in handy to fix them blunders! Let’s go over this real quick.
Foundation
Firstly, don’t try to look fairer or darker – please use the exact shade of foundation for your skin tone to avoid the first and one of the most commonly committed blunders – the wrong shade of foundation! Just NO!
The right way to choose your foundation shade is to take a little bit of it on your finger tips and blend it on your jawline or neckline. If you can’t see it once it’s properly blended, then that’s your shade. Always blend the product well, on your face, neck and onto the exposed chest part so that the colors match, if your hands are dark, then you can add some on your hands as well.
If you have gotten excess product on your face, then take a wet wipe and gently dab it on your face to remove any excess product. You can do the same in case you’ve gotten excess concealer on.
Lip Liner
This is one of the most cringe-worthy blunders you can commit. You’re supposed to line the natural lining of your lips to add definition. Do not go all ‘Kylie Jenner’ on your lips to make them look bigger. Use a neutral shade or a liner that is one shade brighter than your natural lip color.
If you get any excess liner on, take some makeup remover on a cotton pad and carefully remove the excess product without disturbing the lipstick.
Over-plucked Eyebrows
Please be gentle while defining your brows, so you don’t end up looking like you literally drew them on with a Sharpie! Use a color that looks natural on your face and make short, gentle strokes to fill them in.
Blush
In case you’ve gone overboard with your blusher, then use your compact powder to color correct. You don’t want to end up looking like a clown.
Lipstick
When you want to lighten your lipstick, take a tissue paper, fold it into half and kiss it, placing it between your upper and lower lips.
Eye Makeup
When applying eye shadow, keep in mind not to extend it upto your eyebrows. When applying eyeliner, keep the lining as close to your waterline as possible for the best look.
Ladies, we hope you’ve got some of these tips penned down on the back of your minds. We covered a whole bunch of simple steps to help you achieve makeup that is on-point for the next time you want to play around with different looks!
source:stylecraze
This entire post absolutely ROCKS! Thank you for all the hard work you put into it. It really shows. Airbrush Makeup
ReplyDelete